

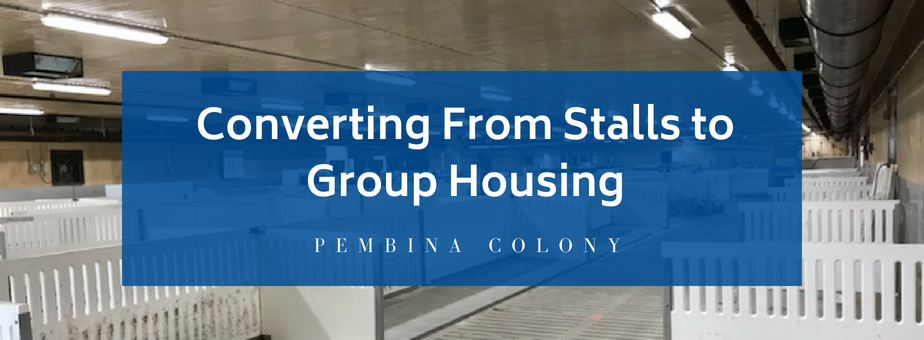
We often get asked to talk through the process of taking a stall barn and converting it to a loose housing barn, and for good reason! The process seems daunting, but in reality it is pretty painless if you plan ahead. Every barn conversion is different due to a number of factors including barn size, current and desired barn operations, temporary housing options, and a number of other factors. Providing a general outline of the conversion process is helpful, but we decided we could paint a clearer picture if we walked you through a recent conversion.
In Mid-August of 2017 Pembina Colony contacted us asking what it would take to convert their sow barn to group housing. As with all conversion projects, we informed them that we would first have to visit the barn to see what they currently had, and then we could develop a plan from there.
Initial Meeting
At our first meeting in the barn we discussed all available options, and we clearly explained all that would be involved in the conversion. As is quite common in these discussions, their largest concern was that they wanted to stay in production while making the conversion; so one of our first tasks was to find somewhere to keep the sows while we completed work in the gestation barn. We were very fortunate in this particular instance to have some available finishing space that could be temporarily used for that purpose.
Proposal & Quote
One month later, we finalized the plan and provided Pembina with the quote and floor plan for what would be required. After a few more meetings to confirm the details, they decided to go ahead with the conversion project.
Phase One: Training the Girls
In January of 2018, two self-training gates were installed using a couple of the finisher pens. We laid it out so that they were able to put a breed week into each pen; by installing two gate sets they were able to have two breed weeks training at the same time and speed up the process.
As with training new gilts, training their existing herd was not a lot of work, it just took time for the animals to teach themselves and get comfortable with the equipment.
Phase Two: Introducing ESF
Any concerns they had with training were washed away two weeks later when they introduced the first group to an ESF. Without having to push any animals through the system, the entire group had eaten their portion by noon on the second day. That group even included a sow that was at parity 13! (That is not a typo).
Since this was pretty hard to believe I asked to see the proof, and her sow card from their sow management software ran several lines past the allotted space.
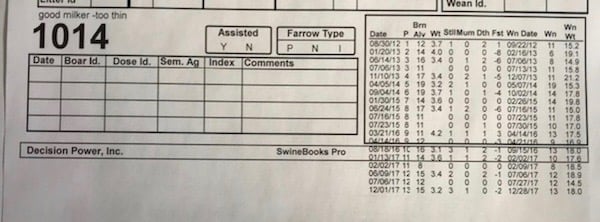
I just had to go into the barn myself and get a video of her entering the feed station, she was so big she had to bend her back down to fit in but she didn’t hesitate at all. So don’t tell me you can’t teach an old dog (or pig) new tricks, just follow the process and let their intelligence and curiosity will do the rest.
Once the barn staff got into a rhythm and they realized that not one animal was missing her feed, they knew they had everything under control with the ESF stations. At that point we turned our attention to the task of physically converting the sow spaces to gestation pens.
Phase Three: Removing the Stalls
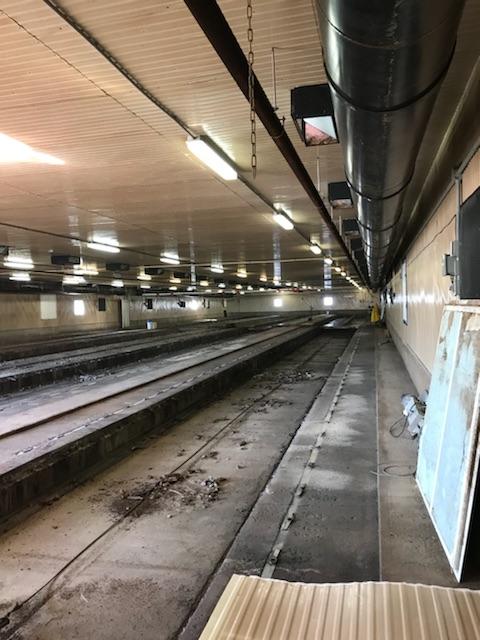
As the team emptied each area of the barn and moved the sows to the temporary training/holding area, the stalls were cut off and removed until the entire room was empty.
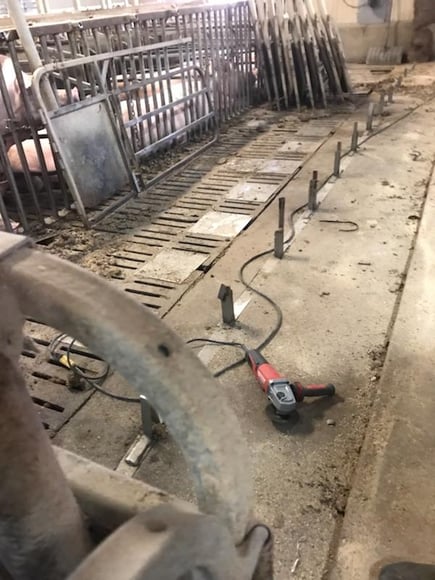
They then removed the slats as they were worn out and would not have been functional going forward. This process took a little over two months, and by mid-April they were ready to start reconstruction.
Phase Four: Reworking the Space & Installing Penning & Gating
The first step in this phase was to excavate a couple of areas at the ends of the pens to allow fully slatted walking areas within the pens (the majority of the pits were able to be used as they were).
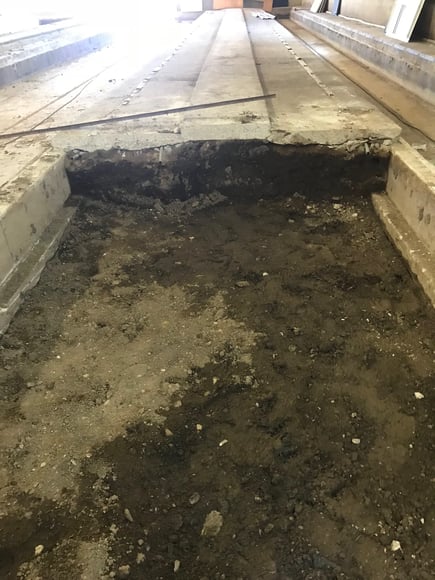
They then laid in the new slats which allowed them to start pouring a skin of concrete over the walkways to level off the laying nests.

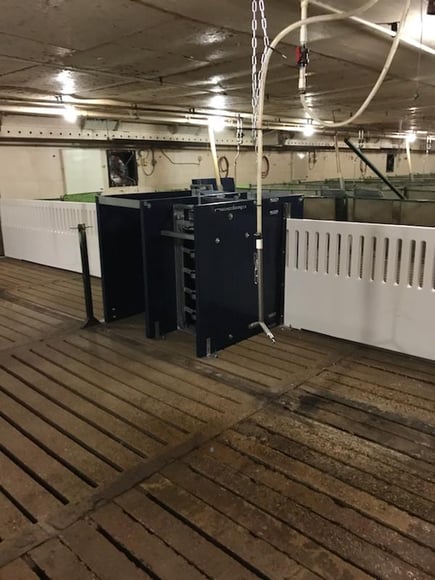
Penning, feed stations, and new breeding stalls were then installed, and after a bit of electrical and plumbing the system was ready for the animals to re-enter.
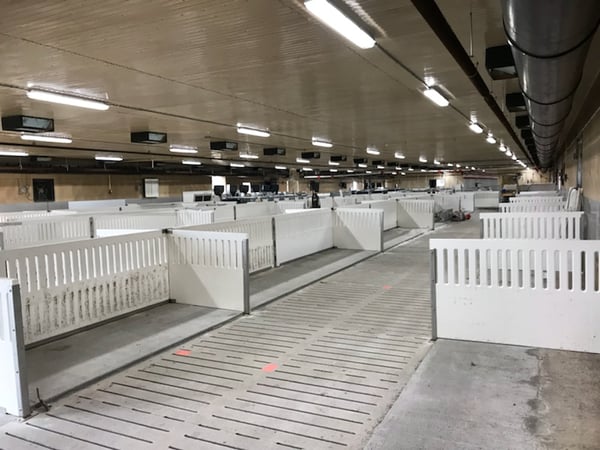
Phase Five: Moving In & Maintaining the Barn
From the time when the barn was completely empty to when it was ready for sows to re-enter it was about 10 weeks, which was not bad at all considering the barn staff did the majority of the work after completing their regular duties in the still functioning barn. Because they took the time to allow all of the animals to train themselves while they converted the barn, the introduction of the sows to groups was a smooth process, and production continued ticking along.
These projects are always enjoyable for me, and it was a pleasure working with such an inspired group of farmers. Providing them support and being able to guide them successfully through the process is always incredibly rewarding. Thank you to Pembina Colony for having the faith in New Standard to partner with us on this conversion and the modernization of their sow barn.